Almost forgotten in the arsenal of Photoshop is a very traditional tool for removing or creating color casts. An old fashioned colored filter was just the thing to put on your lens back when we were all still using film. Thankfully, you can use an adjustment layer to do this now! It's quick, it's easy and it does a pretty decent job too.
Go to the tutorial
Monday, 4 June 2007
Monday, 14 May 2007
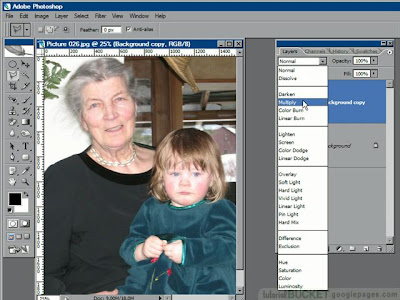
Too light image: Multiply fix

A genuine classic technique that still does the job quickly and easily. Fix those overexposed shots with a layer duplicate and some Multipy blending mode. It's flexible, effective and requires minimal effort. What are you waiting for?!
Go to tutorial >
Go to tutorial >
Friday, 27 April 2007
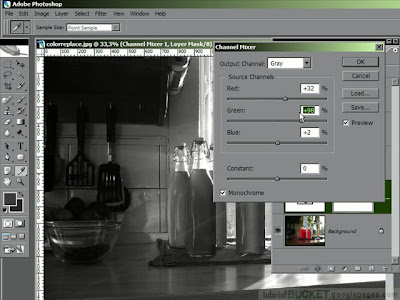
Black & White from color

In todays tutorial highlight, learn the three most important techniques for creating beautiful black and white images from your color originals. Plain old desaturate, channel copying and the wicked powerful channel mixing method are all demonstrated.
This tutorial uses Photoshop CS2, but works just the same for most relatively recent versions. The all new singing and dancing CS3 version has a couple of new additions for creating B&W and I'll have a tutorial for those in the near future, but these classic methods are really just as good as any of the fancy-schamcy new ones.
Tuesday, 24 April 2007
Photoshop for Video: Pixel aspect ratios
Holy mother... is there anything as annoying as importing a digital camera image into your video editing program only to see it get all stretched or squeezed out of shape? The simple answer is that video uses a different pixel shape to those that we use on computers and cameras. They have to use rectangular ones, where we Photoshop users are used to dealing with good old square ones.
So, what's to be done to solve this messy problem? The trick is to take your beautiful square pixel digital camera image and place it into an empty, video friendly rectangular pixel image. This is one of those times when seeing it all being done is a lot easier than wasting thousands of words trying to explain it.
This is a "must know" skill if you have any sort of desire to prepare graphics or images for video use.
Monday, 23 April 2007
Correcting bad color with Levels|

Levels has to be one of the most used comands in Photoshop. Not only is it quick and easy for correcting lighting problems, it works a treat with fixing up messed up color. In this tutorial, you will find yourself in the not so deep water of channel histograms as an aid to correcting color casts with Levels.
No, don't be scared. It really isn't that tricky. Plus, it's a great party trick to show off you Photoshop skills. Assuming you go to such sad, sad parties. Any-hoo, click the link and get Leveling!
Go to tutorial >
No, don't be scared. It really isn't that tricky. Plus, it's a great party trick to show off you Photoshop skills. Assuming you go to such sad, sad parties. Any-hoo, click the link and get Leveling!
Go to tutorial >
Thursday, 19 April 2007
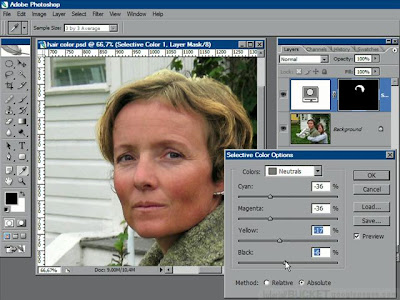
Hair color from dark to blonde

Now this is a juicy one! Hair color change is normally pretty easy, but when you go from a dark shade to a light one, it all gets a lot more complicated.
Suck it up! You get to learn all about the amazing and mysterious Selective Color function that can do just about anything with color and lighting if you can endure the pain of learning it first. Trust me, it really is worth it.
Don't forget to add your comments if you happen to have something earth shaking to share.
Go to the tutorial >
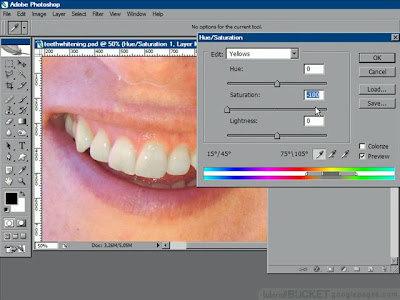
Teeth whitening

Teeth whitening is an easy and gratifying little enhancement to many images. For some reason, cameras seem to make teeth look a lot more yellow than they are in real life. Never fear, a little magic with Hue/Saturation will do the trick in a matter of seconds.
There are plenty of other ways to achieve the same effect, but I have always like the elegant way Hue/Saturation will allow you to target only the color tones that are causing a problem. This is especially true when correcting the color of a "rogue" tooth in an otherwise uniformly colored set of teeth.
Add your comments if you have some thoughts that you would like to share with everyone!
Welcome to a place for Photoshoppers
 Seeing as this is a "statement of our aims" manifesto, I will cut to the chase. What I want to do here is deliver the sort of Photoshop tutorials that I wanted to get to when I was starting out. Most of us don't have the money to shell out for the fabulous, but expensive Total training videos and the majority of free video tutorials is pretty dreadful. So here I am. (Dramatic pause for a moment of reflection....OK, that will do.) I've been in the training game with Photoshop all the way back to version 3, got my Adobe certifications, blah, blah, blah, so I think I have learned a thing or two about both Photoshop and its users. The most interesting things are;
You only want to know how to do VERY specific things
For most of you, learning the basics is about as attractive as a haemorrhoid
Reading long explanations doesn't turn you on
So, video demos of the things that you REALLY want to know seems to be the answer. High quality Quicktime films is the delivery method here, so make sure that you have it installed before you try running any of the tutorials. There are links to install Quicktime from the tutorial index or any of the tutorial pages. Because I want to get your input for all of this, so cometh this blog. To start, the initial collection of tutorials is focused on photography skills. Correction for bad lighting, color, cosmetic retouching are all covered in varying levels of depth to suit different tastes. Naturally the collection will be growing, with your help to give it some direction. Welcome aboard. This should be an interesting ride.
- Ashley
Subscribe to:
Comments (Atom)